# Quick-Start
# Stand-Alone Authentication Portal
The easiest way to get started is to run simple-auth as a stand-alone portal, accessed by API, to manage users.
By default, simple-auth will run without any configuration. However, if you want the user to be able to login via cookie, you must set: web.login.cookie.jwt.signingkey This key must be unique, cryptographically secure, and very secret, to guarantee a user's session can't be hijacked.
Once the application is started, it will create a local sqlite3 simpleauth.db file to store the users. You can optionally change this to a different database. See database providers
simple-auth uses minimal memory, and a default boot of a new server uses under 64 MB of ram.
TIP
A simple way to generate a secure password is with openssl rand -base64 14
DANGER!
The signingkey must be kept secret at all times. This is how a user can login, and
simple-auth knows who they are. If you need to share the key to validate the JWT,
I recommend using public-private key pair strategy (RS256, RS512)
# Docker
WARNING
By default, simple-auth in docker will put your database in /var/lib/simple-auth. Make sure to create a volume so you don't lose your data on container restart!
docker run -it --rm -e SA_WEB_LOGIN_COOKIE_JWT_SIGNINGKEY=REPLACE_ME -p 80:80 zix99/simple-auth
Or, if you prefer docker-compose...
version: '3.3'
services:
  simpleauth:
    image: zix99/simple-auth:latest
    ports:
      - 8082:80
    environment:
      SA_WEB_LOGIN_COOKIE_JWT_SIGNINGKEY: a-unqiue-signing-key # REPLACE THIS WITH SOMETHING UNIQUE!!!!
    volumes:
      - sadb:/var/lib/simple-auth

volumes:
  sadb: {}
# Binary
Download the binary from the releases page, and run with:
./simple-auth-server --web-login-cookie-jwt-signingkey=REPLACE_ME
All environment variables can be replaced with CLI counterparts. For more information see Config
# Accessing Your New Server
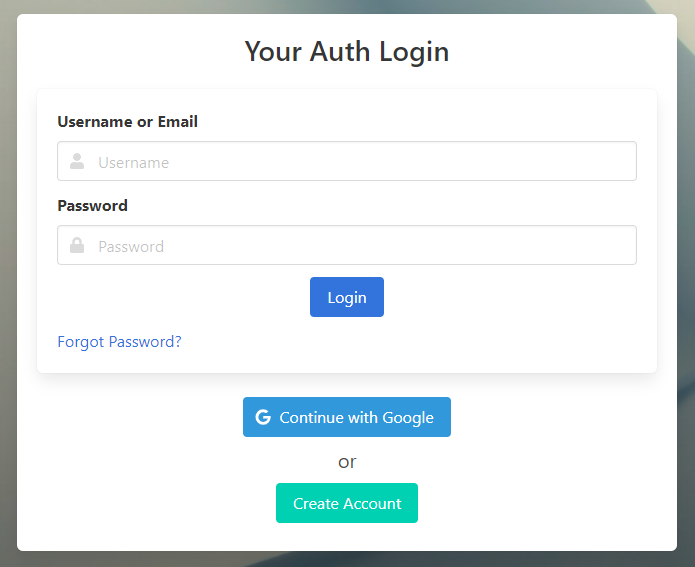
Once simple-auth is running, navigate to http://localhost:9002 (default port for binary) or http://localhost:80 (default port for docker), and you'll see the home page, where you can either login or create an account.
# TLS
WARNING
If simple-auth is exposed to the public internet, you should use TLS encryption. If you use a proxy, it might provide TLS for you. If not, simple-auth has the ability to issue a valid certificate via Let's Encrypt (opens new window)
To enable, simply set web.tls.enabled to true (via --web-tls-enabled or other config).
For more information, see TLS Cookbook
# Simple Gateway
After running it stand-alone, the simplest way to start using authentication is the Gateway functionality. This proxies request to a downstream HTTP service through simple-auth when the user is authenticated. To use this functionality you need 3 new environment variables:
SA_WEB_LOGIN_SETTINGS_ROUTEONLOGIN=/
SA_WEB_GATEWAY_ENABLED=true
SA_WEB_GATEWAY_TARGETS=http://downstream-target
For example:
./simple-auth-server --web-login-cookie-jwt-signingkey=REPLACE_ME \
  --web-login-settings-routeonlogin=/ \
  --web-gateway-enabled=true --web-gateway-targets=http://example.com
Read more in the Gateway docs
# Next Steps
Check out more config options, customize the UI, or check out some cookbooks
You can also check out the examples in the repository
Download →